
HOW TO LAND AN AEROPLANE
|
Old aviation sayings: "Takeoffs are optional, landings are mandatory." "A smooth landing is mostly luck; two in a row is all luck; three in a row is prevarication." Excuse: "To try to remove blame from." We all make excuses when our landing is not as flawless or unblemished as desired. That's just human nature. But, a less than perfect landing should cause us to analyze what occurred to upset the perfect balance that is required to make an arrival "like a butterfly with sore feet." The best way to make consistently good (darn good, at that) landings involves basic attitude flying. Attitude flying is looking at the nose and wings of the airplane in relation to the horizon. Attitude flying is especially important if you fly different makes and models of airplanes. The "perfect landing" involves two phases or sight patterns.
|
|
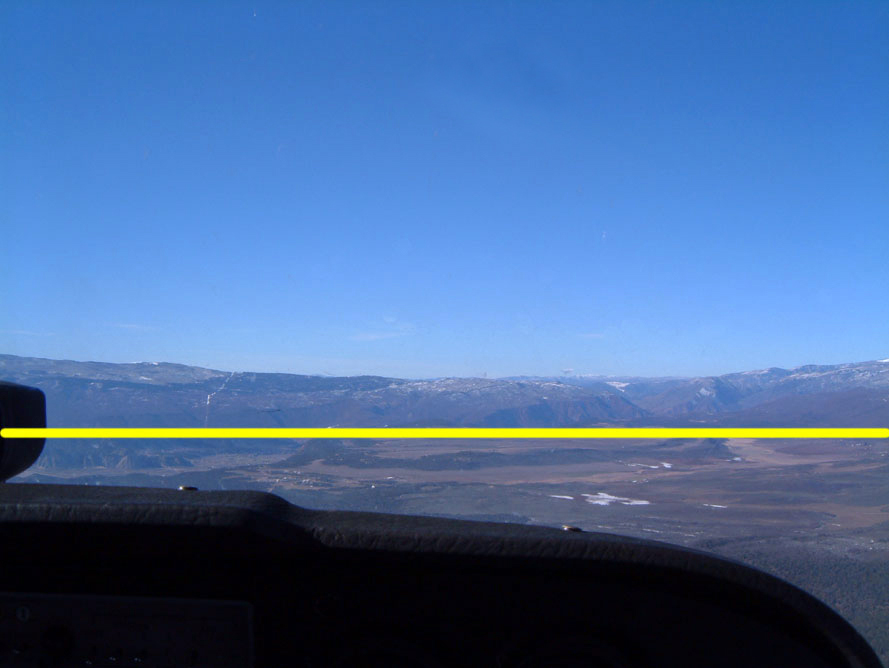
| To
develop the sight pattern for level flight, when you are in
cruise flight at cruise power setting, look at the nose in
relation to the horizon. The horizon is probably about 2-4
inches above the nose. Start out by marking the windscreen
about 1/4 to 1/2 inch below the horizon.
Flying in the mountains may require that you use the base of the mountains about 6-8 miles from the airplane to represent the natural horizon. Memorize this
position, that is, how far the windscreen mark is above the
horizon (or how far the horizon is above the cowling of the
airplane). |
Level Flight
Attitude |
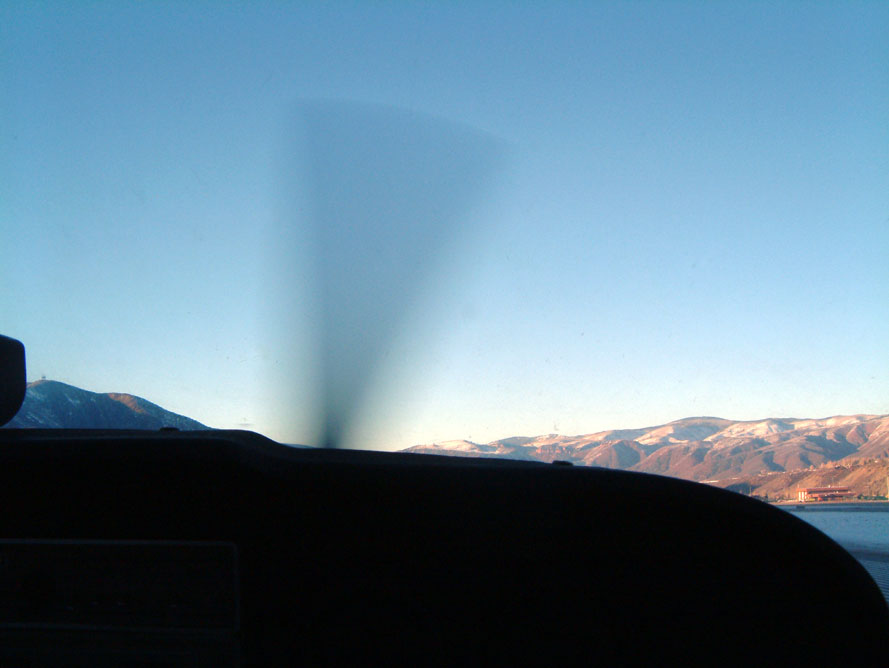
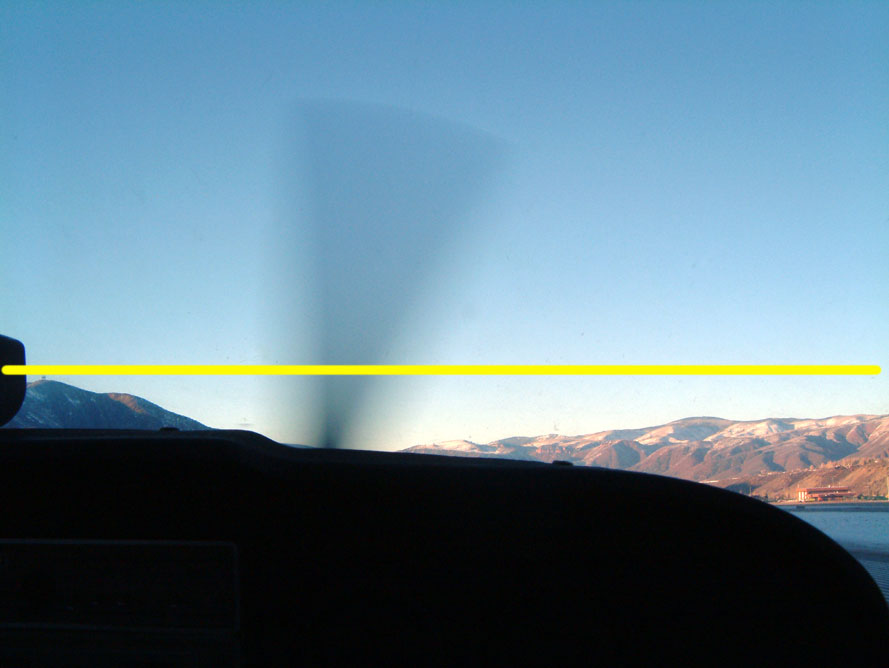
| Next,
learn the sight picture for climb attitude. We'll also call
this the "flare attitude" or "landing attitude."
To develop the sight pattern, transition from level flight with cruise power setting to a climb at Vy (best rate-of-climb airspeed) using the cruise power setting. The horizon will intersect the cowling below the windshield. Memorize this
position, that is, how far the windscreen mark is above the
horizon (or how far the horizon is below the cowling). |
Landing Attitude |
|
Practice transitioning
back and forth from level-flight attitude to landing
attitude.
To ensure that you have these sight pictures mastered, it is helpful to cover the airspeed indicator, make the transition from level flight to landing attitude and then check the airspeed indicator for Vy. Do this back and forth
until you can transition to the landing attitude with the
airspeed within 1 knot of Vy. Surprisingly this practice
will take fewer than 10 minutes to perfect the "level
attitude" and "landing attitude" sight pictures. |
|
|
|
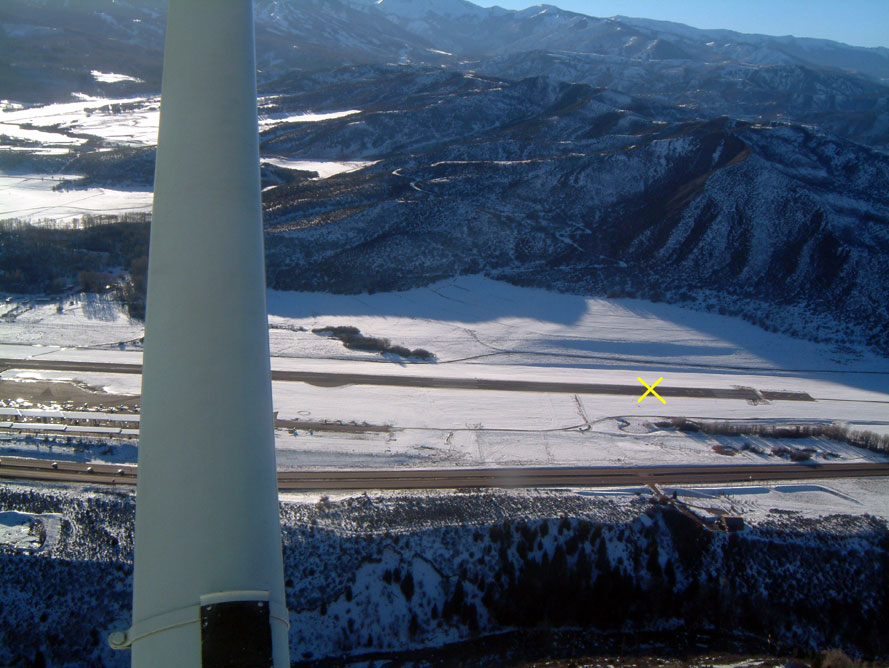
If you enter
a downwind for the landing, when you are opposite the
landing point on the runway, go through your pre-landing
checklist. Transition to the normal landing approach
airspeed and use flaps as usual. |
|
|
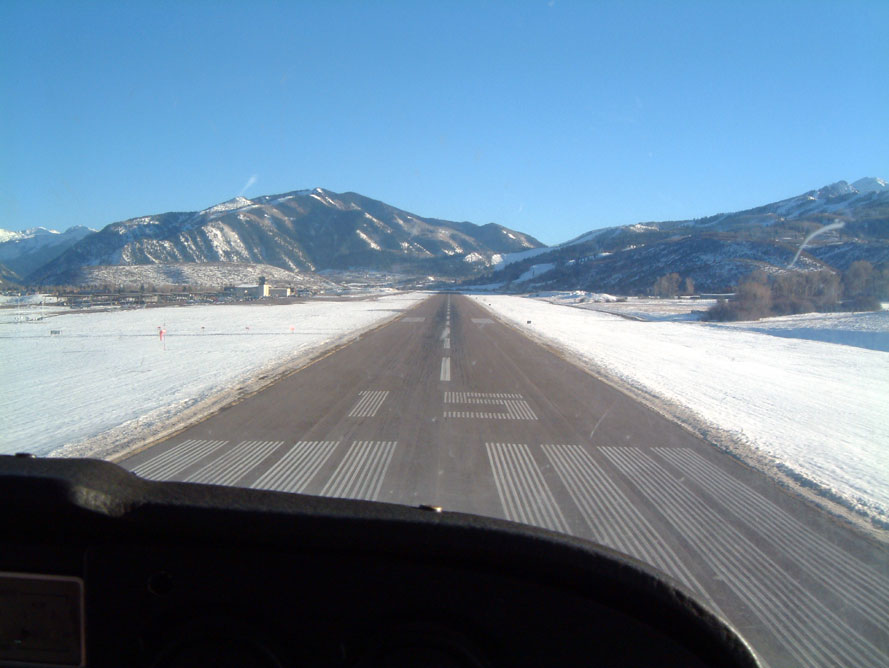
As you approach about 15
feet above the runway, make the transition from your glide
attitude to the level flight attitude.
If your
attitude is less than level flight, the airplane will
continue descending. If your attitude is higher on the
horizon that level flight, the airplane will climb. |
|
|
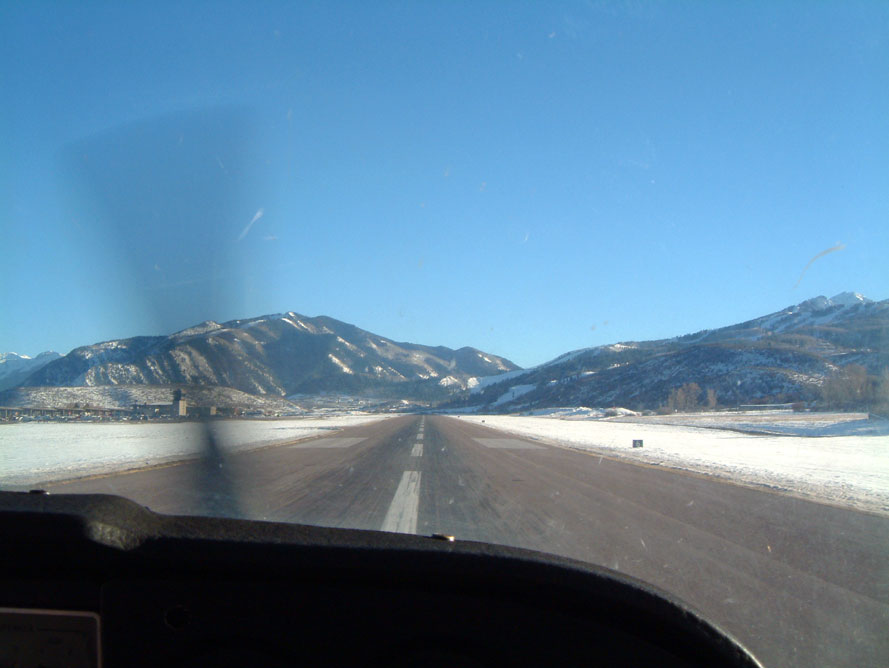
As the airplane begins to
sink, slowly transition to the landing attitude. This is the
only part of the landing that takes practice.
The transition must be
made at a rate that arrests the descent, but doesn't cause a
balloon. The object is to reach the landing attitude just as
the wheels contact the runway. |
|
Try this 2-step approach to landings. You might find that it
simplifies the process of transitioning from an airborne
vehicle to a ground vehicle. |
|


|
|
|